3D image processing
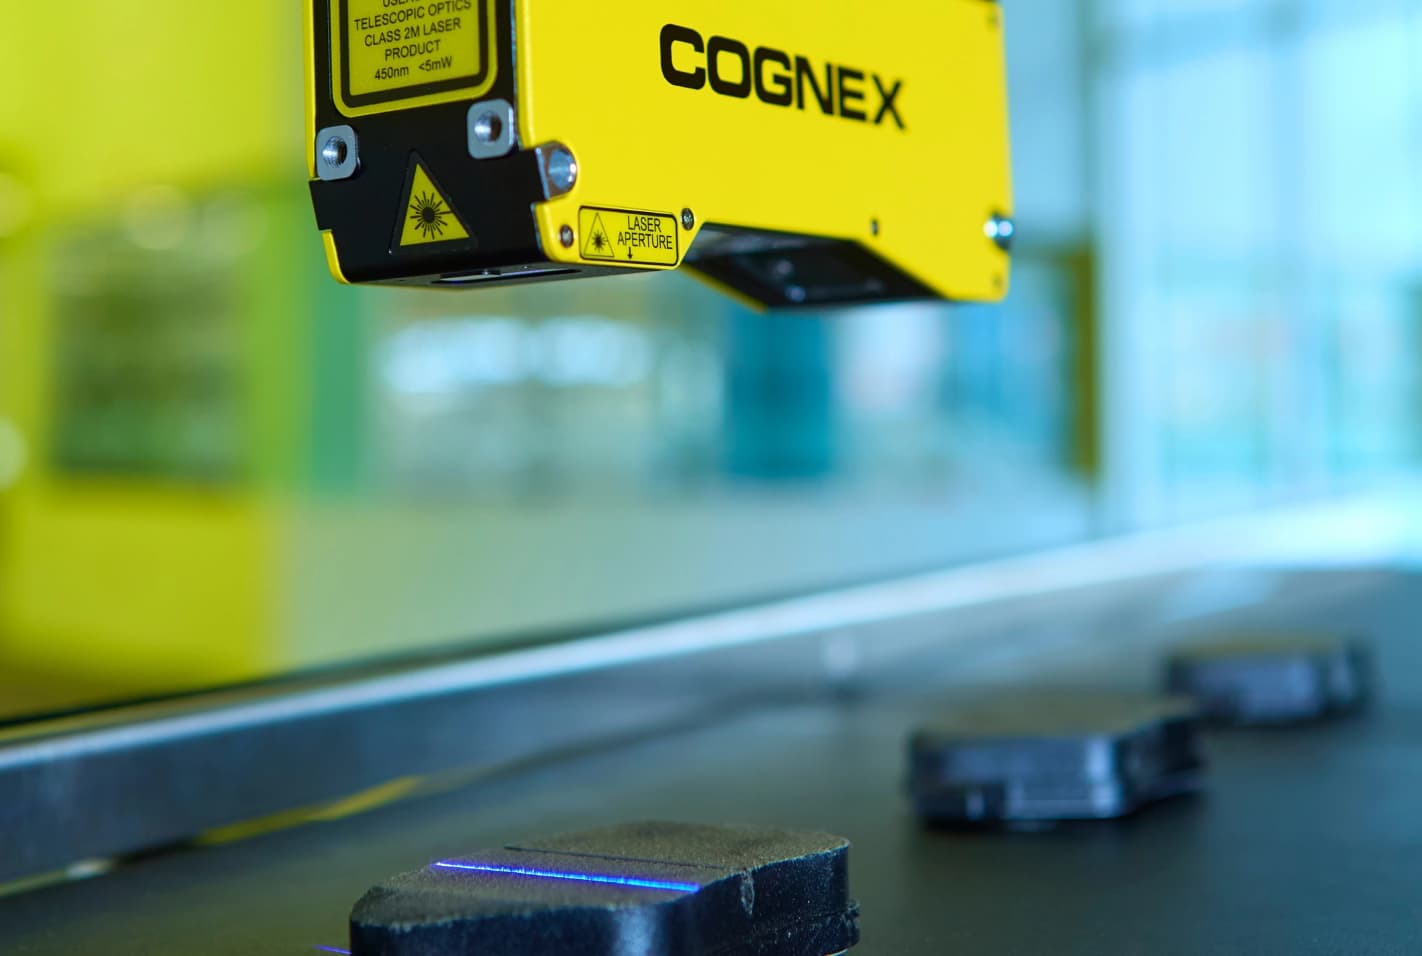
Used when precise height information is required for evaluation. This is done with the help of three-dimensional images of test specimens (point clouds) for automated defect detection, pack assembly inspection and classification.

Important information is retained
In applications where the lighting cannot be easily controlled or changed, 2D image processing reaches its limits. When taking a picture with a conventional camera, the distance information between the camera and the observed object is lost. Not so with 3D image processing. Here, stereo cameras or laser profile sensors are used to record three-dimensional images (point clouds) with the aid of precise depth information, in a matter of seconds and true to life.

Wherever height information is needed
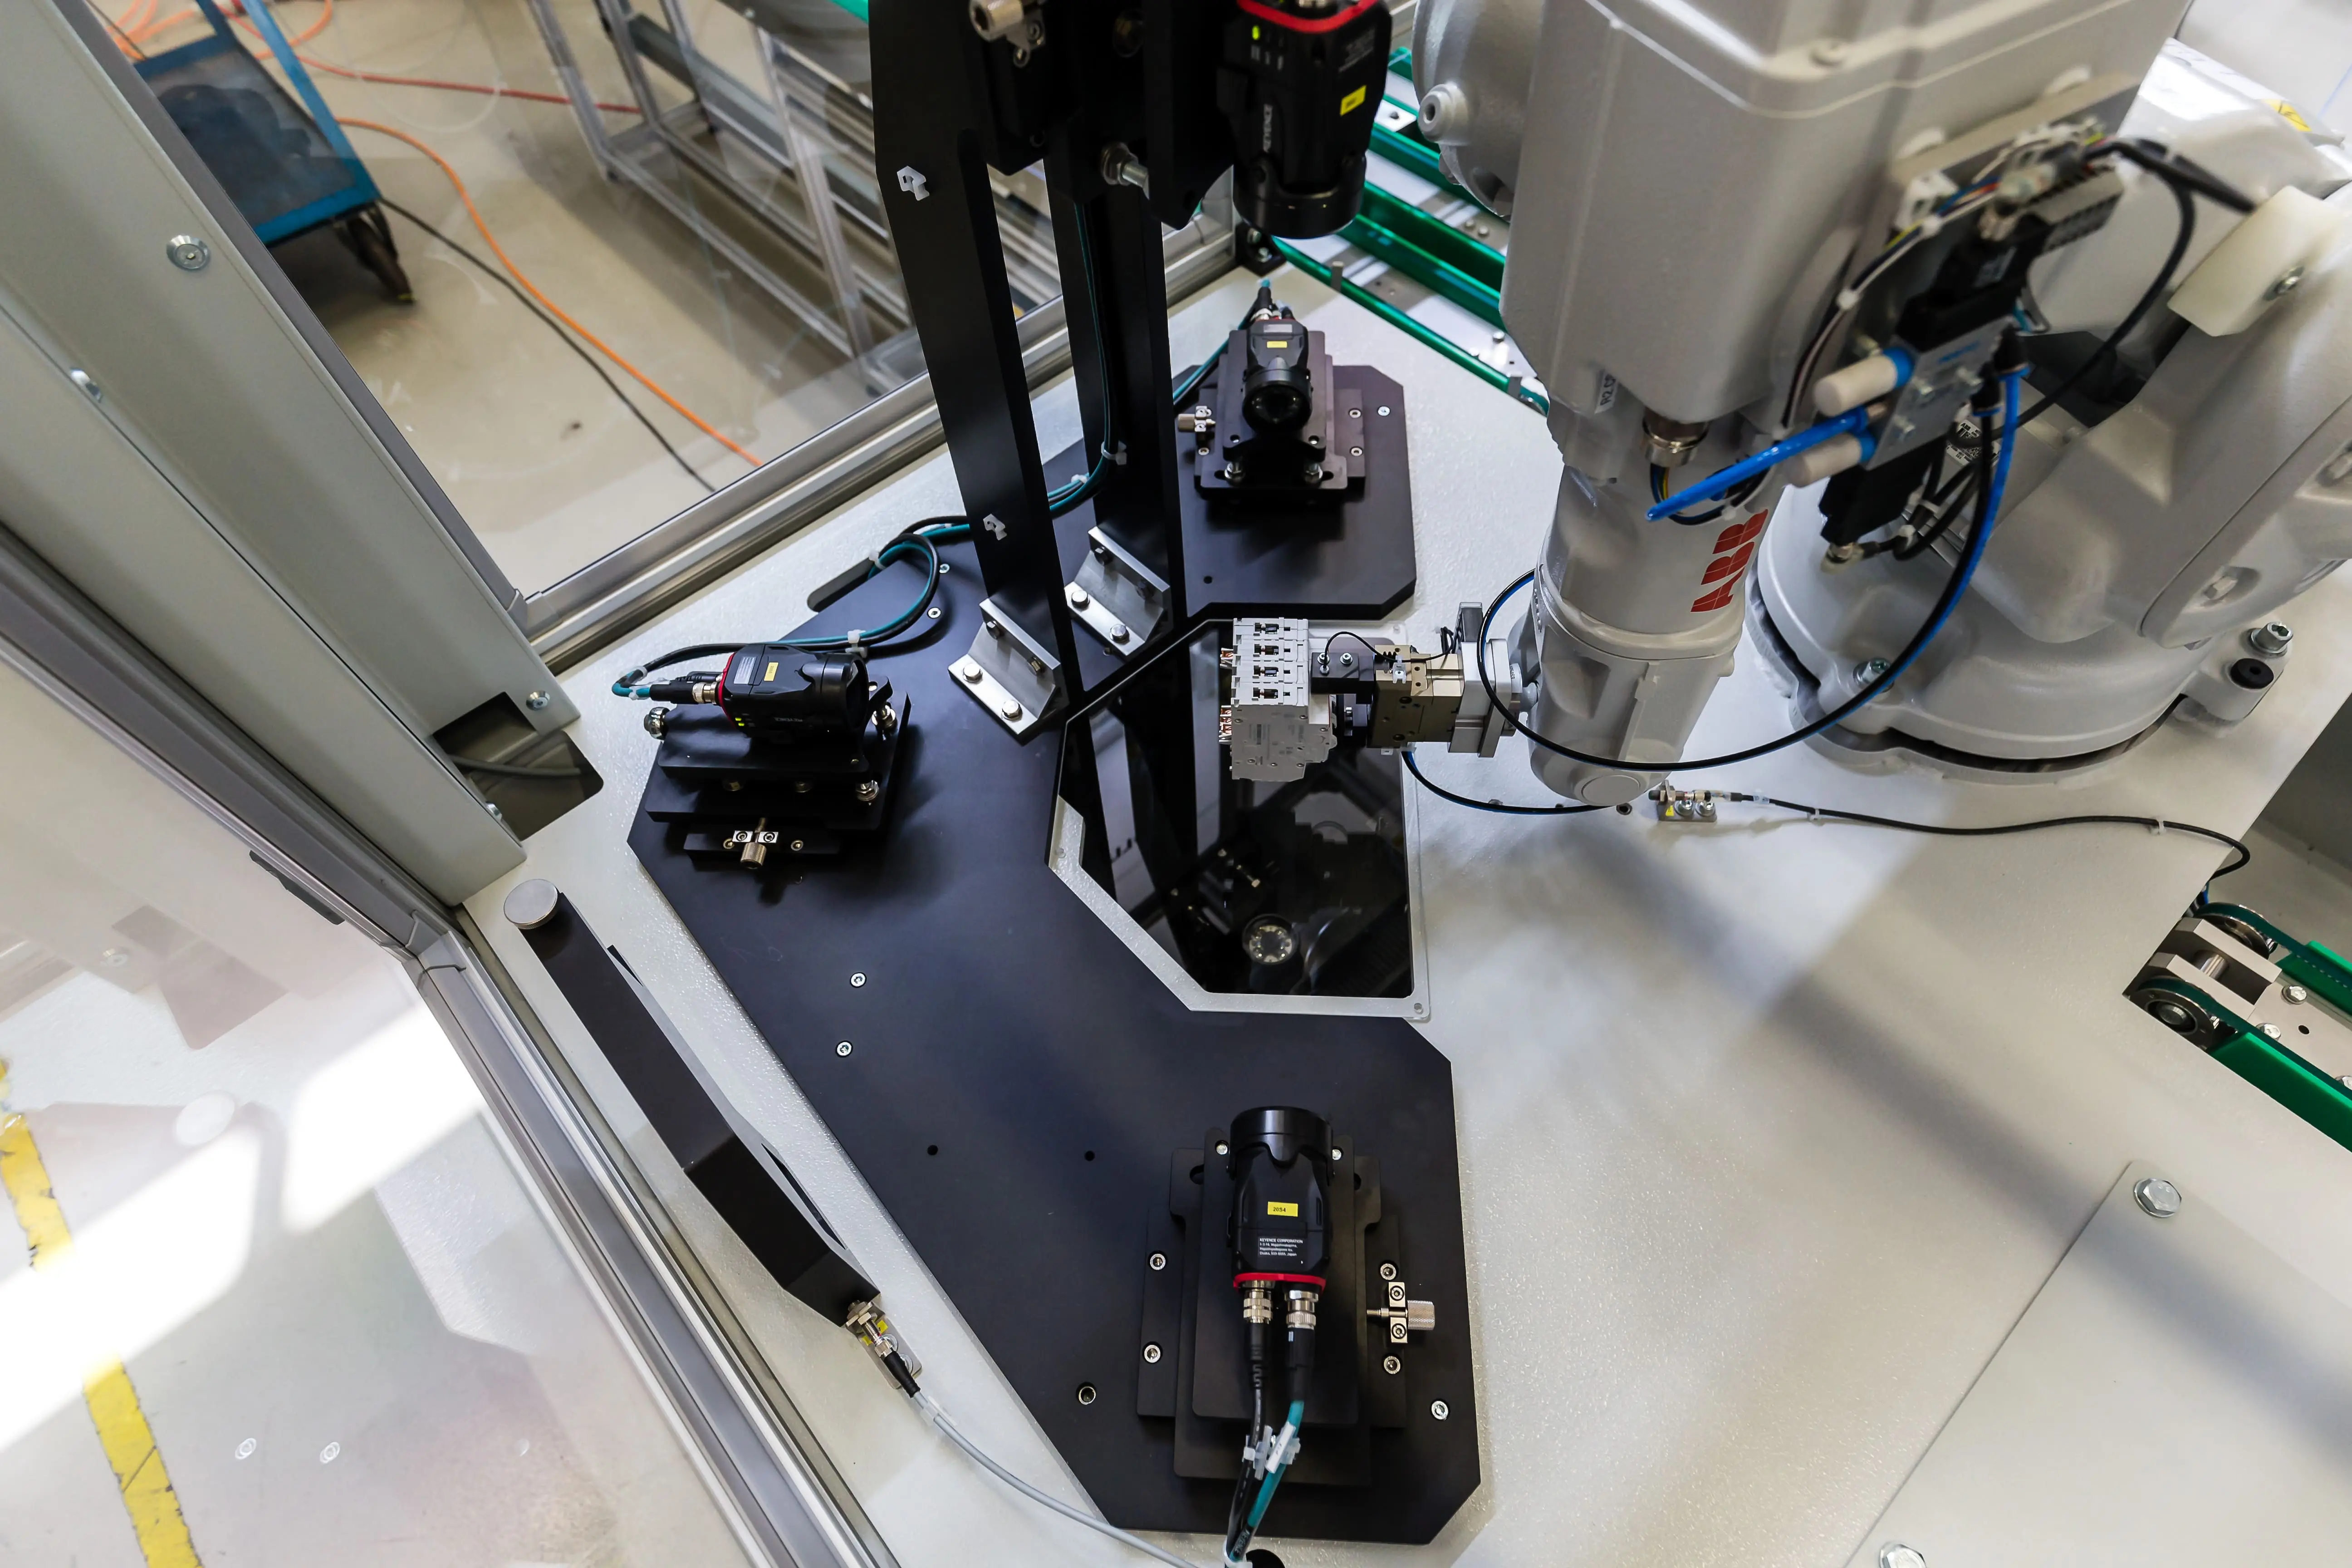
3D image processing systems are equipped with high-precision profile measuring devices and structured lighting for this purpose. By taking several images from different camera directions (and analysing them within seconds), the cameras are able to determine depth information. The point cloud takes into account every pixel of the detected part and determines the X, Y and Z coordinates as well as the corresponding rotation data for each of the axes, resulting in an accurate profile of the test specimen.

The right combination makes the difference!
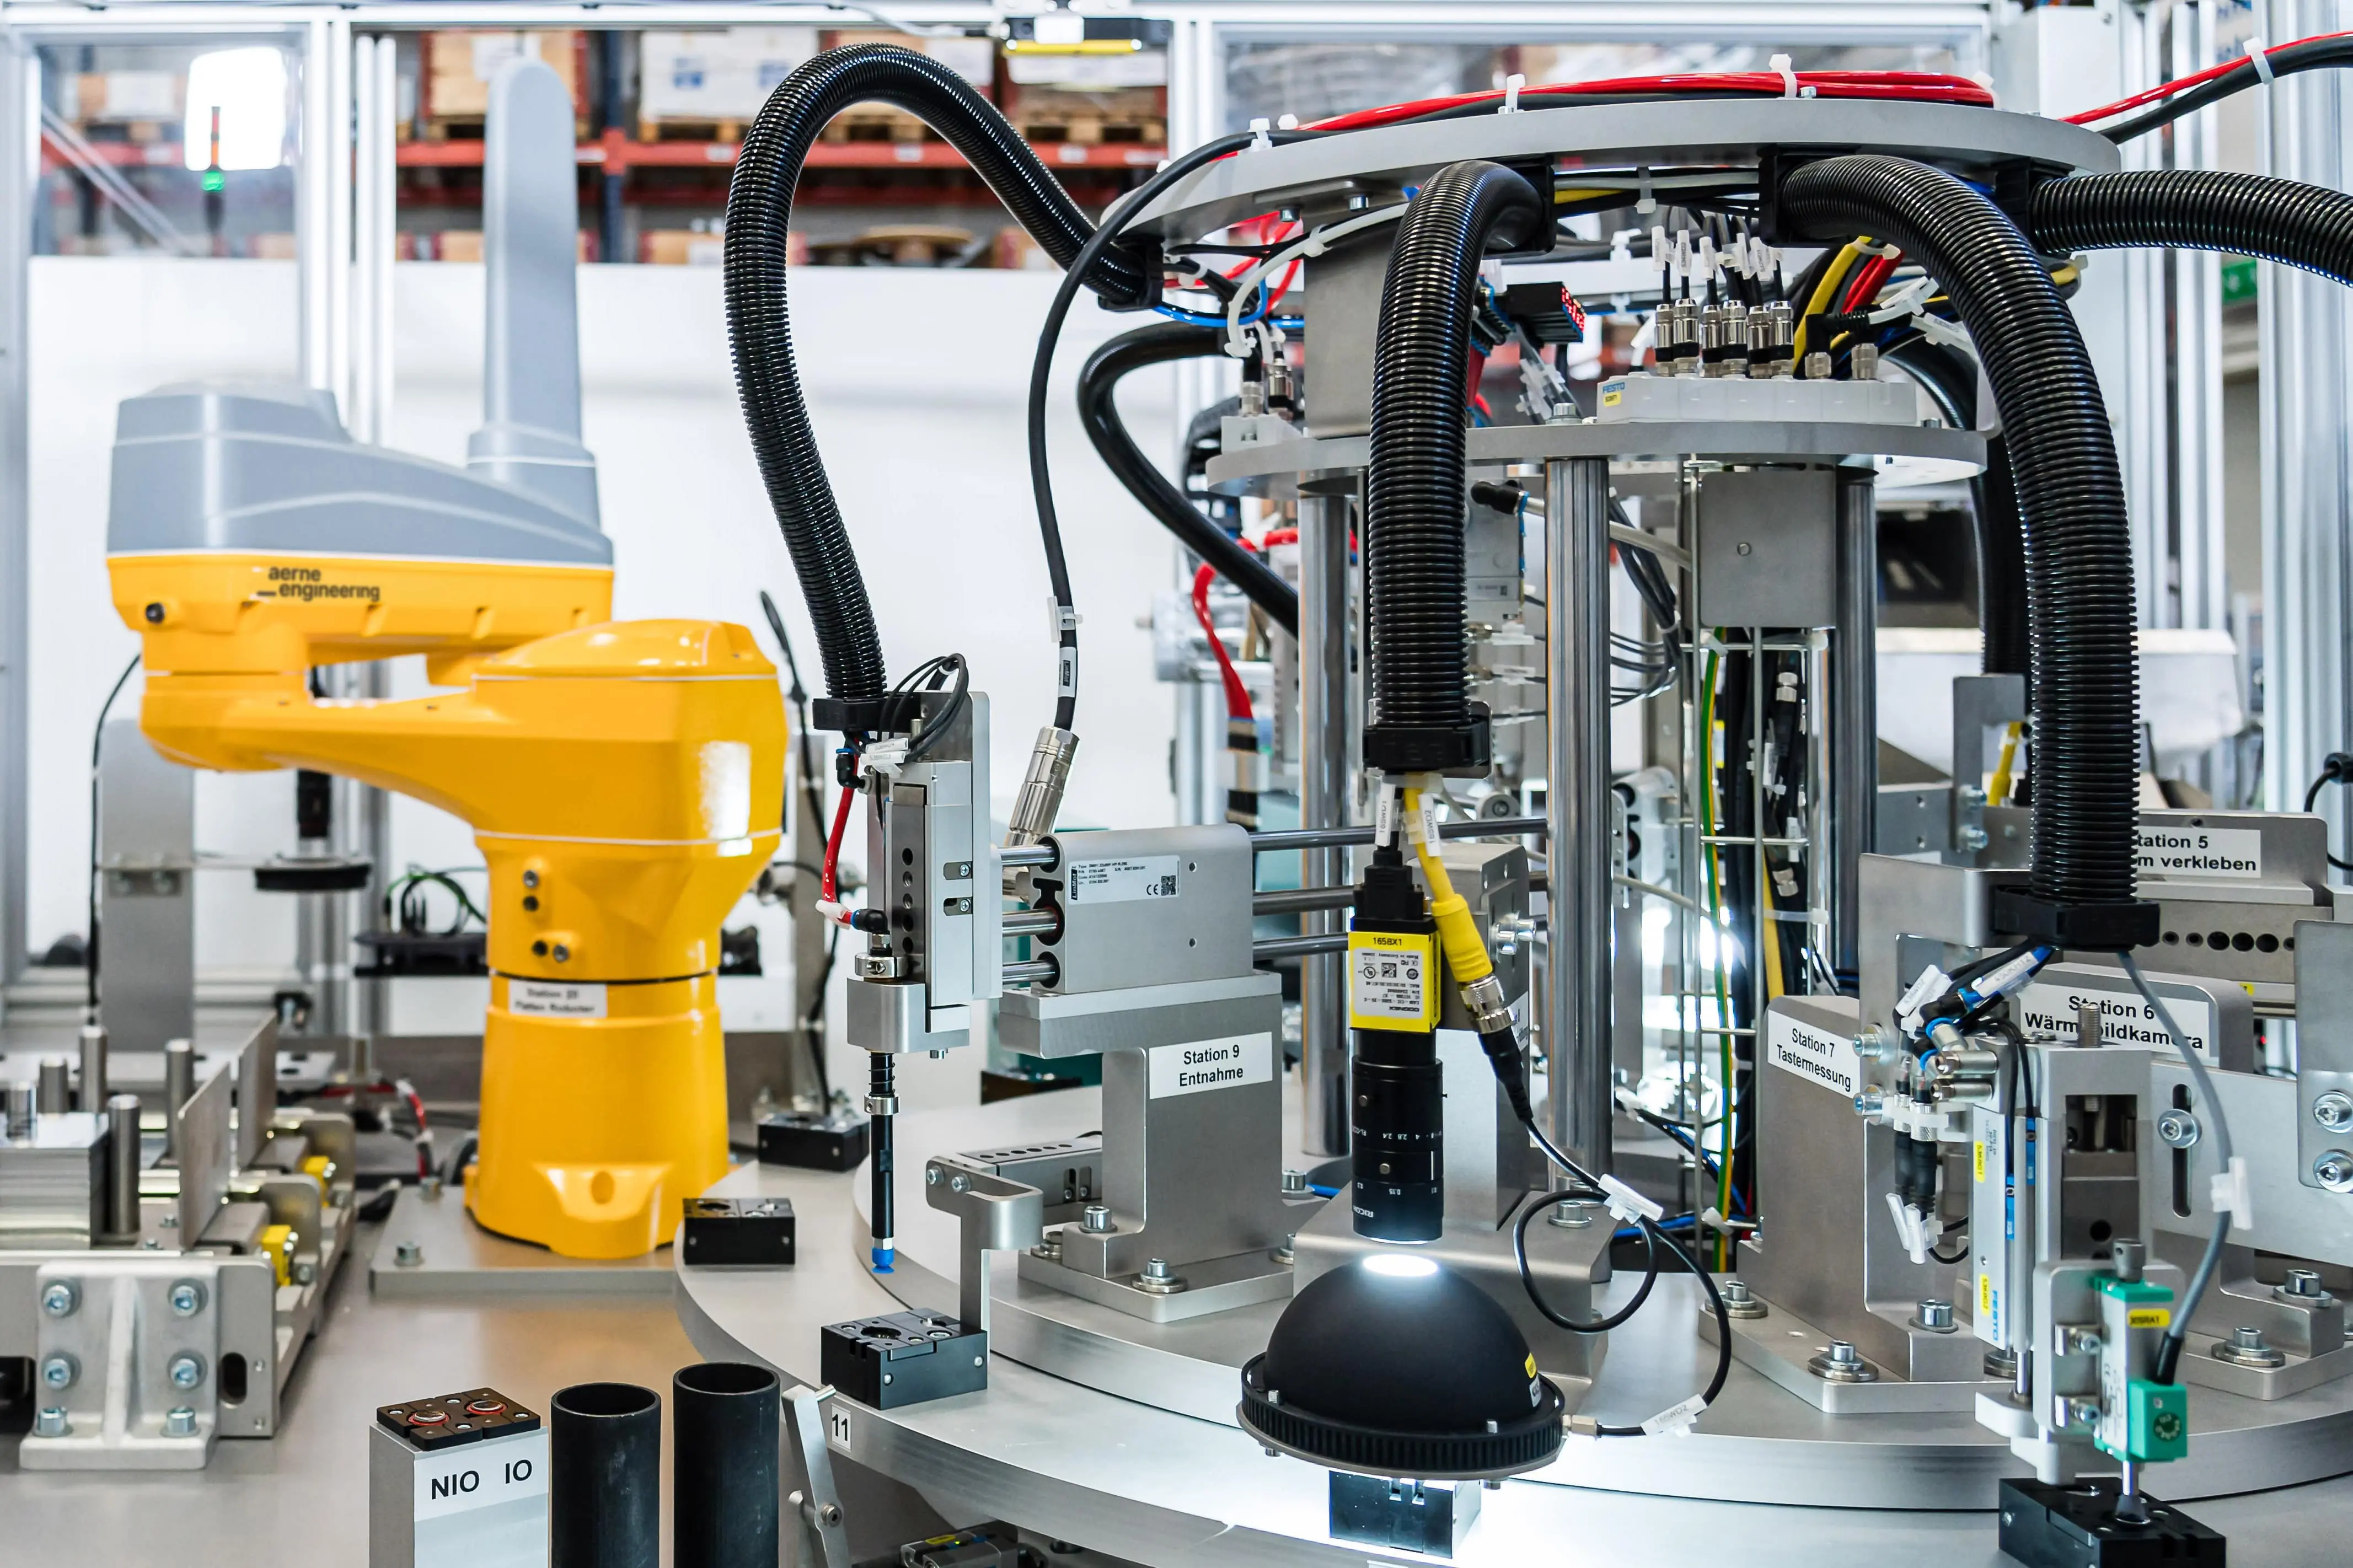
aerne engineering often uses a combination of different methods in its vision solutions. The decision usually depends on the type of the respective application and its properties. The amount of available data and the available computing power must also be taken into account.